

How to start a kitchen garden from seeds

Spring is right around the corner and chances are good that you have already ordered your organic vegetable seeds, you may even have some leftover from the previous garden season. If you have stored your seeds properly in a cool and dry place, you can expect them to be viable for one to three years; check the date on the package if they were not saved by you. Perennial seeds often last for two to four years, but if you are unsure, buy them anew to avoid under-germination disappointment.
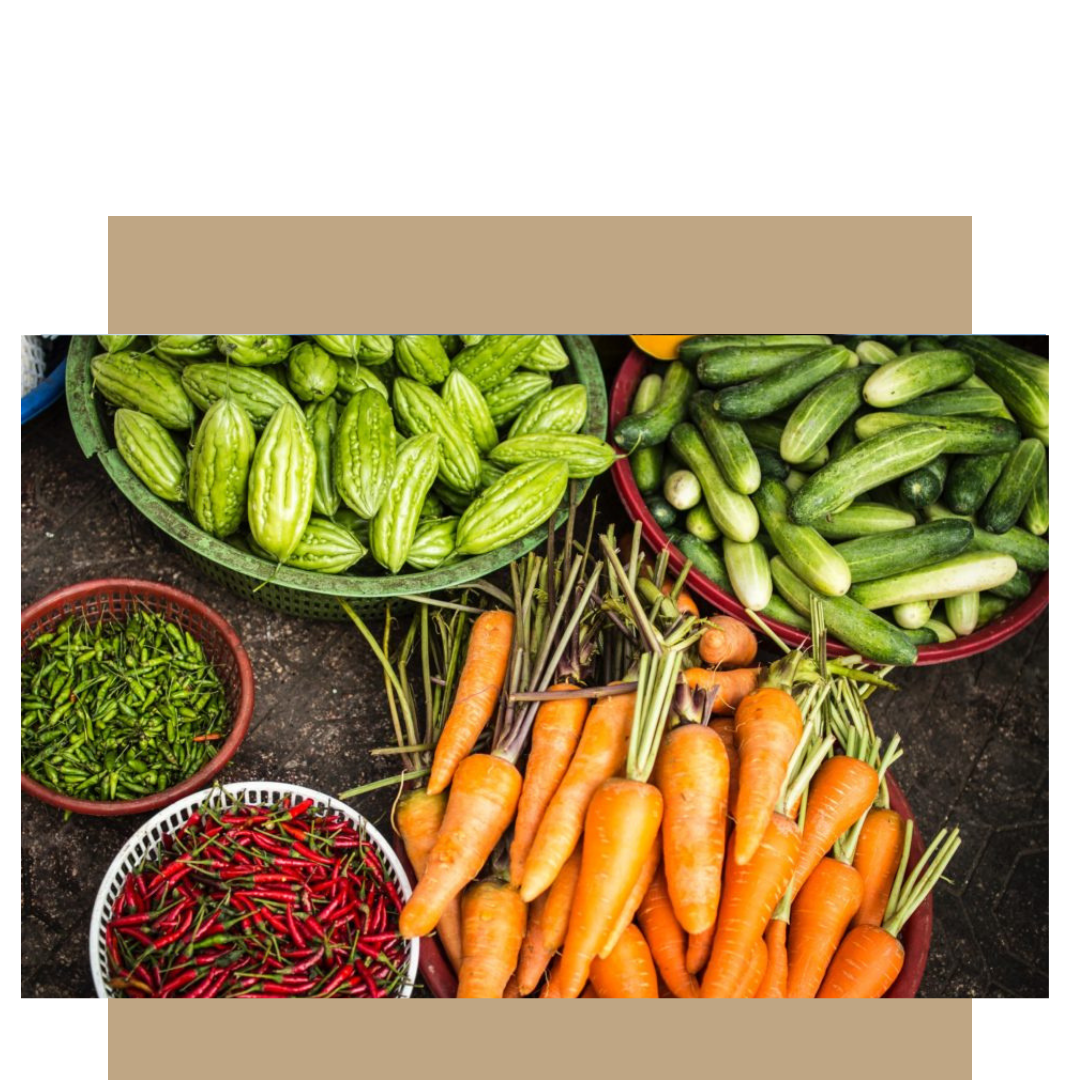
 Know what vegetables you want to grow in your garden, so you can start the seeds inside at the proper time. Some of the easiest seeds to grow inside are Brassicas (cabbage, broccoli, cauliflower, Brussels sprouts), leeks, cucumbers, eggplant, tomatoes and peppers.
Beans, beets, carrots, onions, peas and radishes are all best planted directly in the garden soil, as they do not like disturbed roots.
Read each seed package closely and note how many days each one takes to reach maturation, how deep to plant the seed and any other requirements they may need. Most annual flowers and vegetables should be sown indoors about 6 weeks before the last frost date. If you need to lightly scarify the seeds, the package will indicate that as well.
Part of the challenge of growing a garden is getting the seeds to germinate! Harvesting is fun, but the fruit comes from the seed, so treat it well.
Choose a seed starting mix or compressed peat pellets that expand when wet, as well as trays with divided containers. You can go for a simple solution and reuse small yogurt containers that you collected throughout the year or you take another green approach and use pots made of organic fibers that break down over time – these work great for plants such as squash and cucumbers that are more difficult to transplant. Make sure that all pots have proper drainage holes.
Sow your seeds individually in labelled containers. Mark what is where, because there is nothing more frustrating than not being able to identify what greens are coming up, especially if this is your first germination. Keeping planting depth in mind, if you are unsure, a good rule of thumb is to plant the seed about 4 times as deep as its width. If your seeds need light to germinate cover them with a fine layer of vermiculite, if they take darkness to begin growth, then cover them with dark cloth or brown paper bags till they sprout.
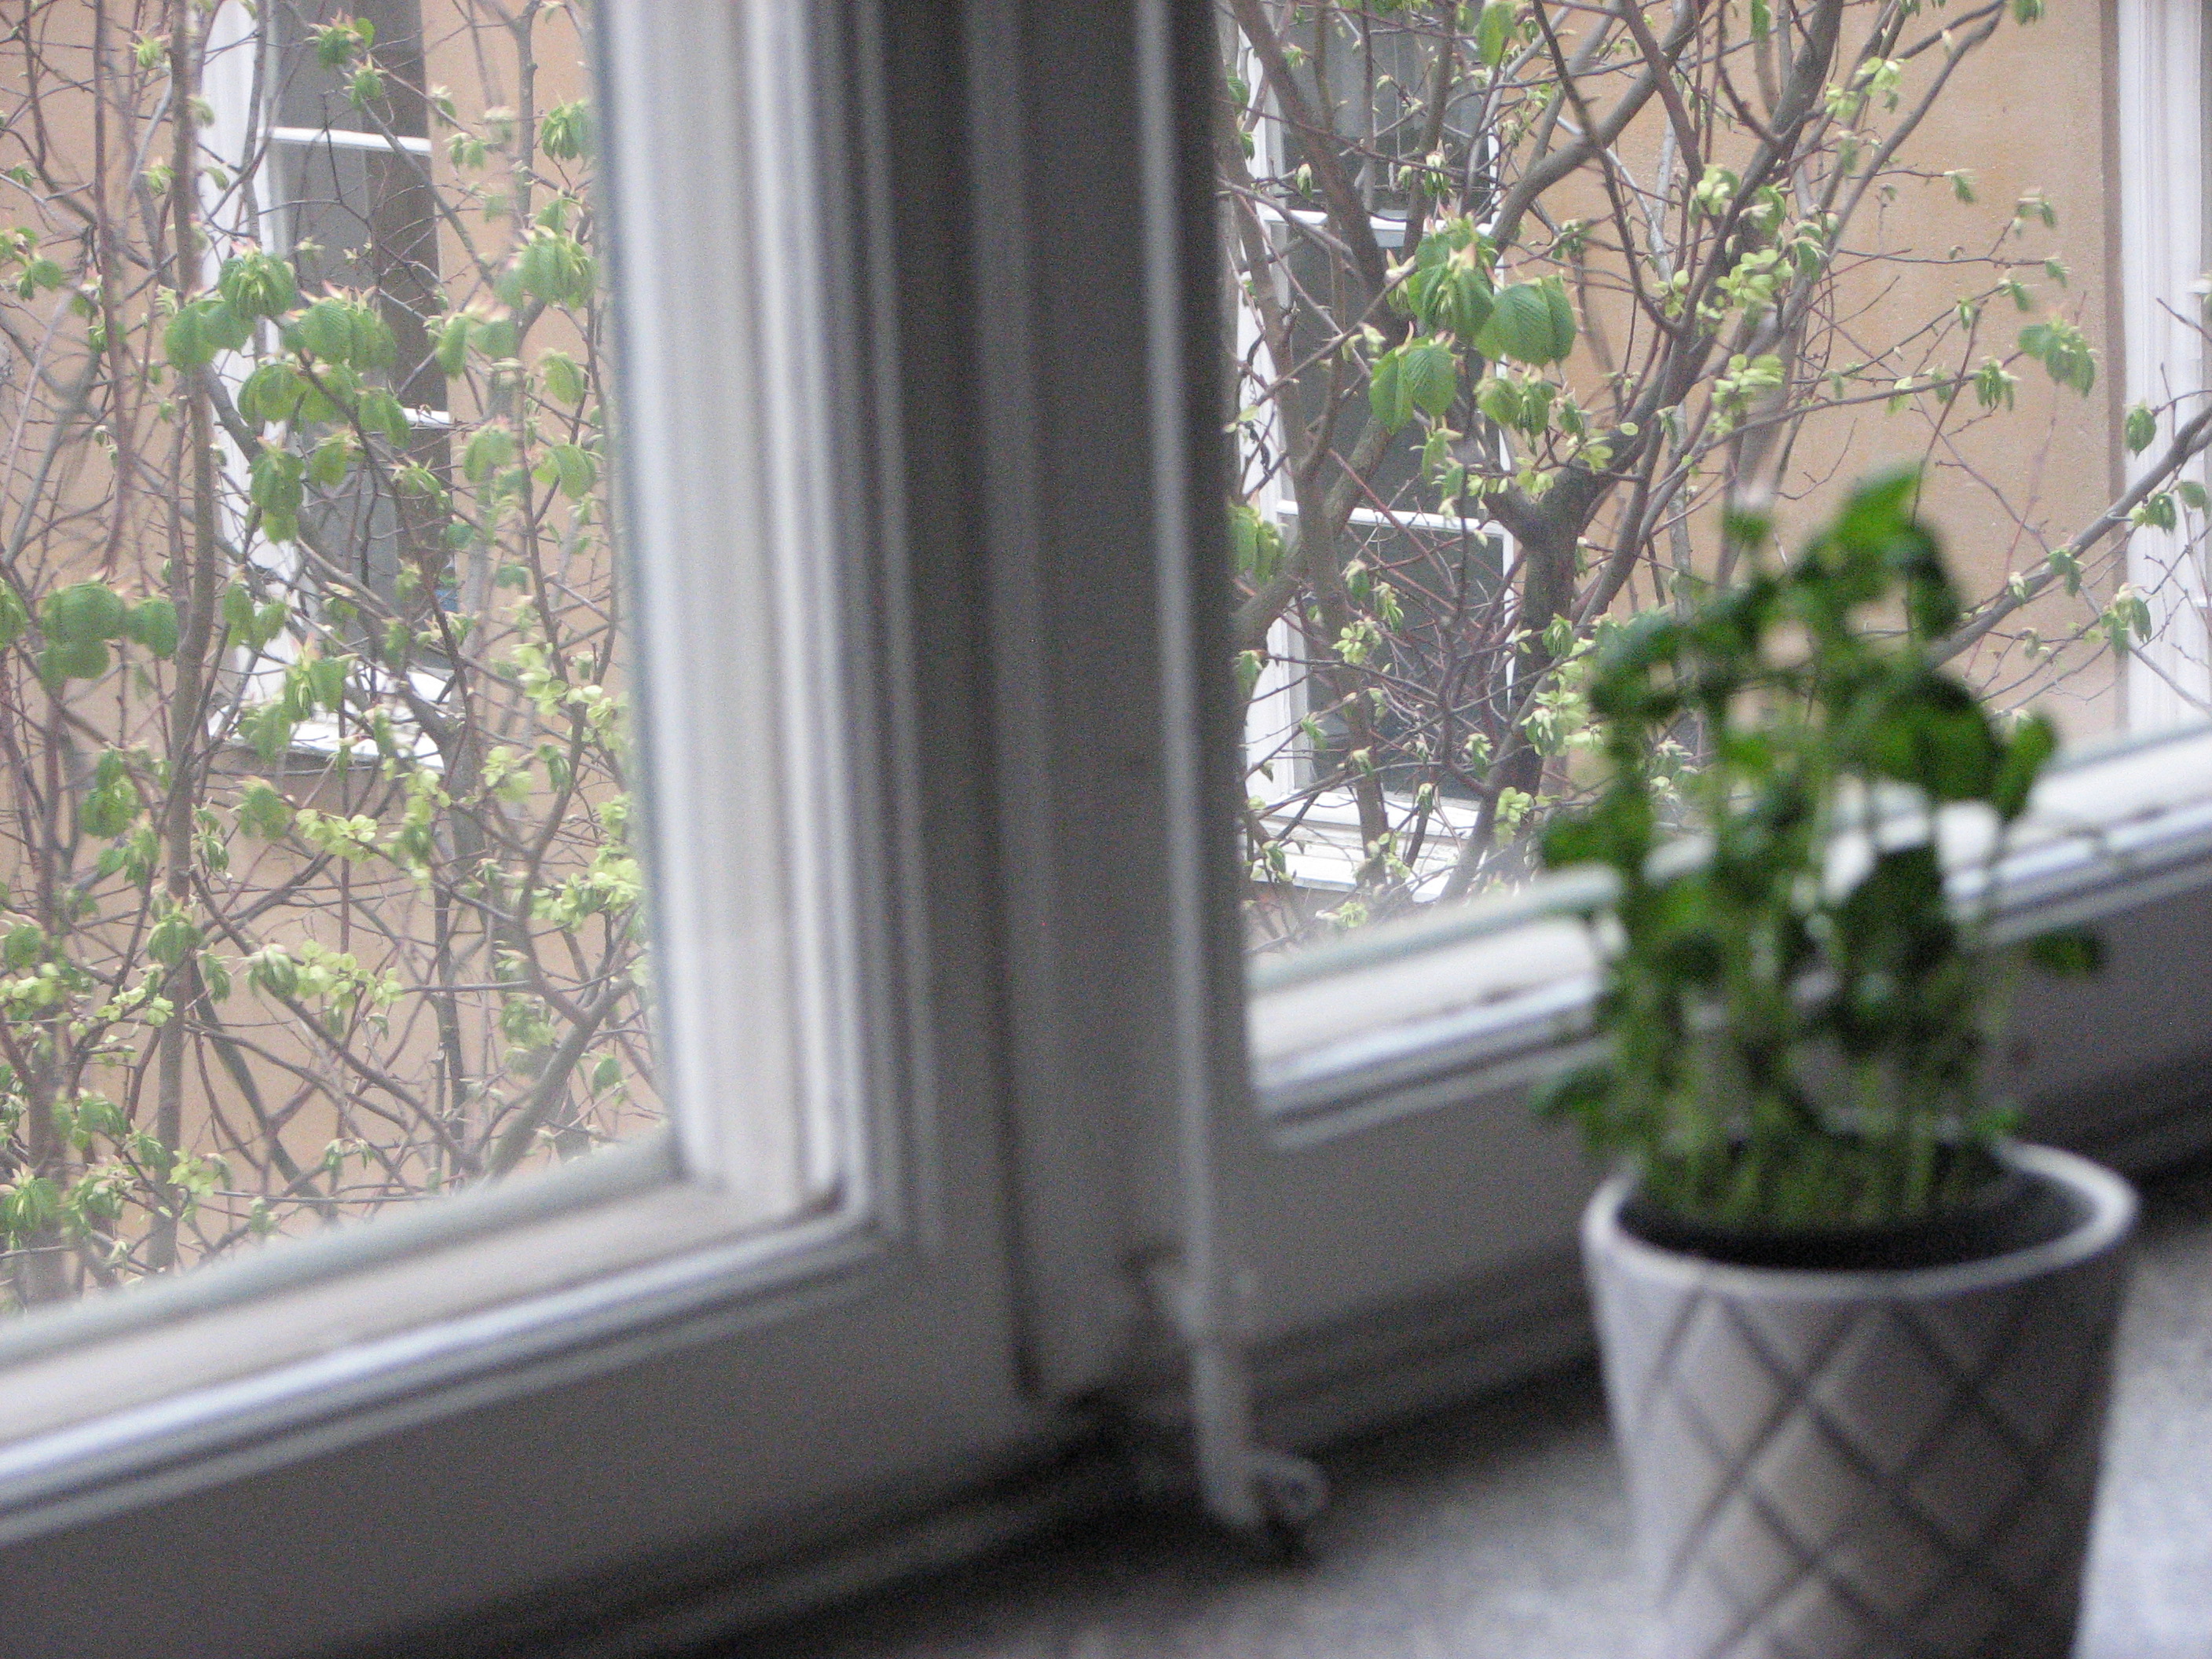
Your seeds will need a nice warm place to germinate and produce strong roots. You may put them in a windowsill during the day, but take them further at night so that the soil does not chill down. Seeds sprout best at 65 to 75°F (18 to 24°C).
After planting you will need to keep the soil moist, not wet. Once the seedlings are coming up strong, you may want to switch to mist watering, or have a very careful hand, so as not to drown the little veggies. When the seedlings get their second pair of leaves they can be thinned out if there is more than one to a container, keeping only the best ones. Repot them in a bigger container as soon as they need more root space.
Plenty of sunlight and the occasional compost tea or organic fertilizer is necessary to ensure proper growth, so don’t skimp on care at this stage.
 When planting time is getting near, you can begin to harden the seedlings off over a 7 to 10 day period. Gradually get them accustomed to stronger sunlight and cool nights, combined with less frequent watering, but keep them protected from hard rain, wind and cold snaps. After a few days, you can leave the plants outside during daylight hours, bringing them in at night, and letting them out again the next morning. Your growing plants will still not be able to withstand freezing temperatures, so make sure they are protected if the temp is expected to dip.
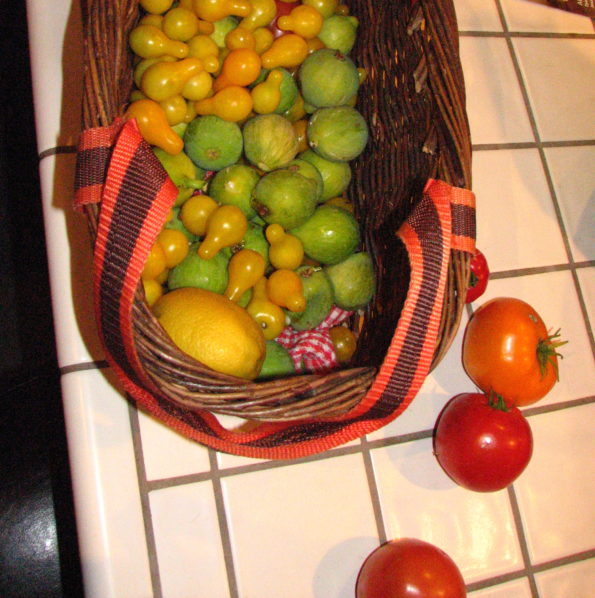
After transplanting your full-grown seedlings in the garden, you can use a weak fertilizer solution to boost the root growth and help them avoid transplant shock. Water them and wish them well. Throughout the summer, tend to their needs and they will reward you with nutritious homegrown goodness.